I've been envying the great guys here who build excellent pickup winders. I'm going to follow, but my Chinese counter is still on its way, and my experiment with a DC motor was a disaster, so I decided to try what I've heard many have done - the sewing machine. We have one at home, which has never been used for anything, so it's about time to see what it can do for me.
It seems that I've succeeded in what I started this evening (now it's late at night) so I want to start a thread dedicated to low-tech pickup winding. Feel free to post your own versions, if you dare…
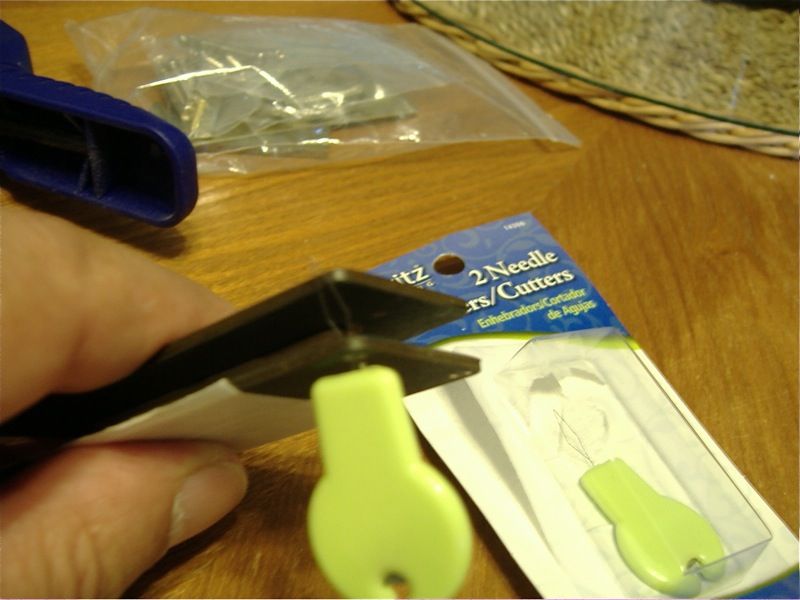
What I have is a pair of lousy pickups from a Squier Vintage Modified Jazzmaster. Some people seem to like the guitar, I don't. The pickups are one thing, there was something wrong with the neck pu which had a DC resistance of about 15k-ohms, while the neck was around 8k. Maybe the wire in the neck pu was of low quality, because there wasn't so much more of it. Here's what I found when I took them apart:

I managed to just lift the upper boards away and took the wires out as whole coils. I re-assembled the bobbins with magnets flush to the top and bottom surfaces to make the coil taller. I want to get rid of that Jazzmaster sound, caused by the wide, flat coil. The reason that guitar sounds bad might be the cheap woods and thick paint too. But the pickups don't help the situation.
On my messy kitchen table I assembled this mighty winding machine:

The clamps are useful to keep the machine on the table as it spins, and they also hold the rod with two drill depth stops I used as the wire guide.
The wheel isn't flat, so I taped on a cap from a glass jar. Also marked the center to help positioning the bobbin (which was held on by two-sided tape):

No way to count the turns, so I went by weight. I made a Excel spreadsheet to calculate the weight / length of wire / DC resistance / number of turns / average turn length etc.
The spool was on the floor standing on a kitchen scale. It was easy to periodically check how much weight it had lost. The wire was unwinding nicely from the end and didn't tangle.
(image removed)
You can see where I bought that wire. It's 42 AWG, 0,063mm
After glueing the bobbins together I used electrical tape to isolate the magnets (Some might use the lacquer dip)

Definitely the hardest part was to get the wire through the eyelets this many times:

My super good wire tensioner: a piece of tissue (= toilet paper) folded many times. Works very well when held between fingers.

Then I just wound them. Not much to tell about the process. I could run the machine at max speed, the pedal frees both hands - used my left hand to smoothen the vibration of the machine. Didn't break the wire, all went pretty smooth. I wound the bridge pickup a bit heavier - it has about 35 grams of wire, the neck has 29...
The magnets are south up on one and north up on the other. Because the machine only has one direction and the underside flatwork was too rough to be taped securely, I just wound them same way but switched the leads on the other. Here they are, topsides attracted to each other:

The ohm meter says 5.8k on the neck and 6.8k on the bridge. Not potted yet, but I might try melting some old paraffin candles one of these days!
Then we'll hear them. Quite underwound, but I'd like them to be bright and clean. And oh, I should probably get rid of that branding on the covers:

It was technically really much easier than I thought! But a proper winder might be just a bit easier to use. More to follow.
It seems that I've succeeded in what I started this evening (now it's late at night) so I want to start a thread dedicated to low-tech pickup winding. Feel free to post your own versions, if you dare…
What I have is a pair of lousy pickups from a Squier Vintage Modified Jazzmaster. Some people seem to like the guitar, I don't. The pickups are one thing, there was something wrong with the neck pu which had a DC resistance of about 15k-ohms, while the neck was around 8k. Maybe the wire in the neck pu was of low quality, because there wasn't so much more of it. Here's what I found when I took them apart:
I managed to just lift the upper boards away and took the wires out as whole coils. I re-assembled the bobbins with magnets flush to the top and bottom surfaces to make the coil taller. I want to get rid of that Jazzmaster sound, caused by the wide, flat coil. The reason that guitar sounds bad might be the cheap woods and thick paint too. But the pickups don't help the situation.
On my messy kitchen table I assembled this mighty winding machine:
The clamps are useful to keep the machine on the table as it spins, and they also hold the rod with two drill depth stops I used as the wire guide.
The wheel isn't flat, so I taped on a cap from a glass jar. Also marked the center to help positioning the bobbin (which was held on by two-sided tape):
No way to count the turns, so I went by weight. I made a Excel spreadsheet to calculate the weight / length of wire / DC resistance / number of turns / average turn length etc.
The spool was on the floor standing on a kitchen scale. It was easy to periodically check how much weight it had lost. The wire was unwinding nicely from the end and didn't tangle.
(image removed)
You can see where I bought that wire. It's 42 AWG, 0,063mm
After glueing the bobbins together I used electrical tape to isolate the magnets (Some might use the lacquer dip)
Definitely the hardest part was to get the wire through the eyelets this many times:
My super good wire tensioner: a piece of tissue (= toilet paper) folded many times. Works very well when held between fingers.
Then I just wound them. Not much to tell about the process. I could run the machine at max speed, the pedal frees both hands - used my left hand to smoothen the vibration of the machine. Didn't break the wire, all went pretty smooth. I wound the bridge pickup a bit heavier - it has about 35 grams of wire, the neck has 29...
The magnets are south up on one and north up on the other. Because the machine only has one direction and the underside flatwork was too rough to be taped securely, I just wound them same way but switched the leads on the other. Here they are, topsides attracted to each other:
The ohm meter says 5.8k on the neck and 6.8k on the bridge. Not potted yet, but I might try melting some old paraffin candles one of these days!
Then we'll hear them. Quite underwound, but I'd like them to be bright and clean. And oh, I should probably get rid of that branding on the covers:
It was technically really much easier than I thought! But a proper winder might be just a bit easier to use. More to follow.