
Moldy Oldy
Tele-Holic
… I just have to say that blond 2-pickup jazz box is beautiful!
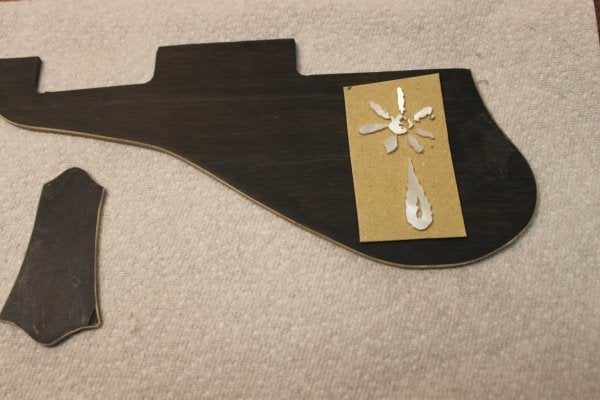
I totally agree about that guitar… simply beautiful. But dang it, it looks like the pickup rings are ebony. I was really hoping to use store-bought plastic rings, but now I’m second guessing. I think I’ll go ahead with the rings I have, knowing that I might need to make ebony replacements at some point in the future.


")