Matt Haskins' Former Challenge Build

  • Thread starter Matt Haskins
  • Start date
  • This site may earn a commission from merchant affiliate links like Ebay, Amazon, and others.

Matt Haskins

Tele-Meister
Joined
Mar 1, 2011
Posts
351
Location
Claremont, CA
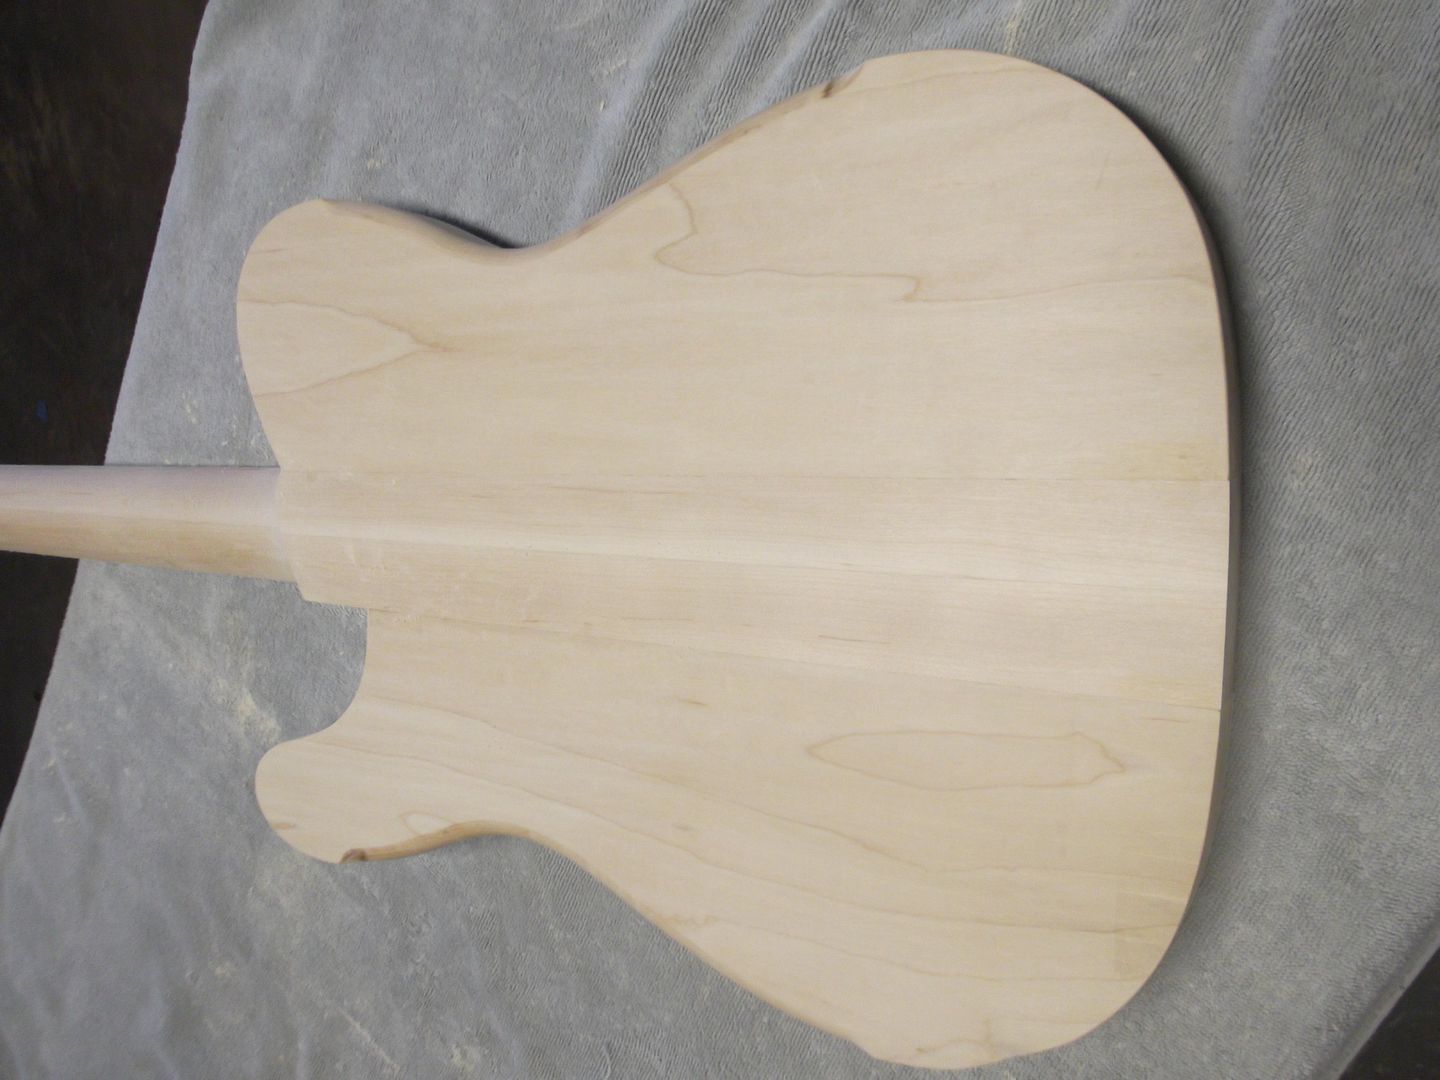
After I glued up the wings last night I wound the pickups. Now for a disclaimer. Take everyting I'm about to say about Rickenbacker toaster pickups with a fair about of skepticism. I did my research and tried to find as much reliable information as I could but frankly who knows. I was surprised how little info was out there. Doesn't appear a lot of people make home brewed toasters and those that do appear not to be talking much.
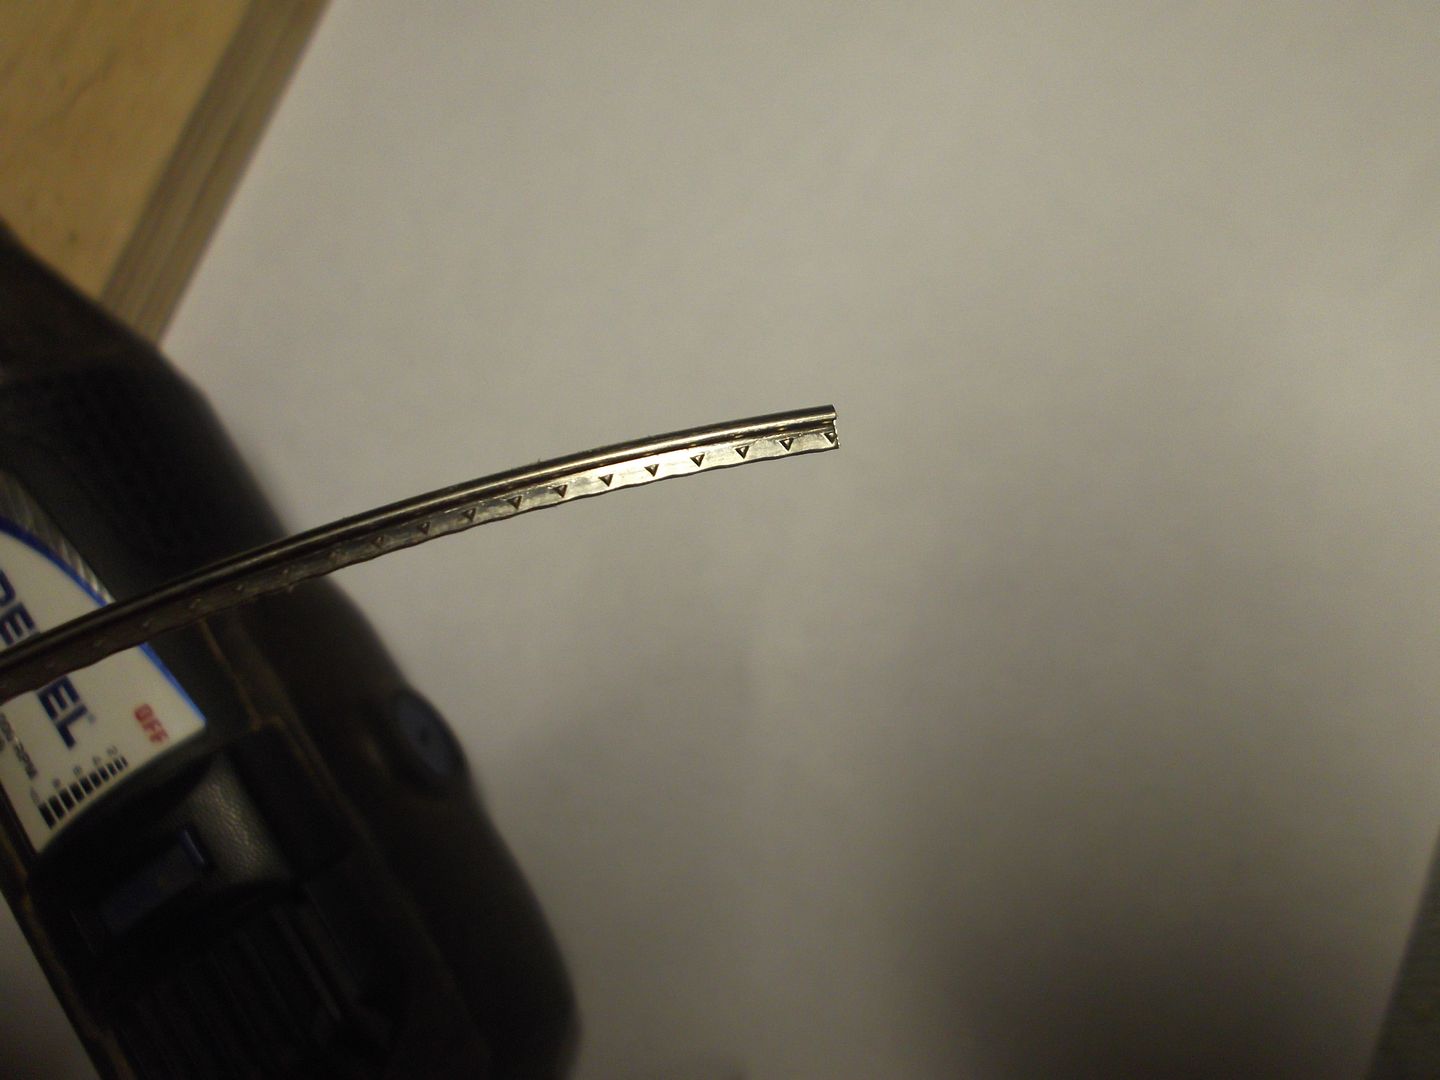
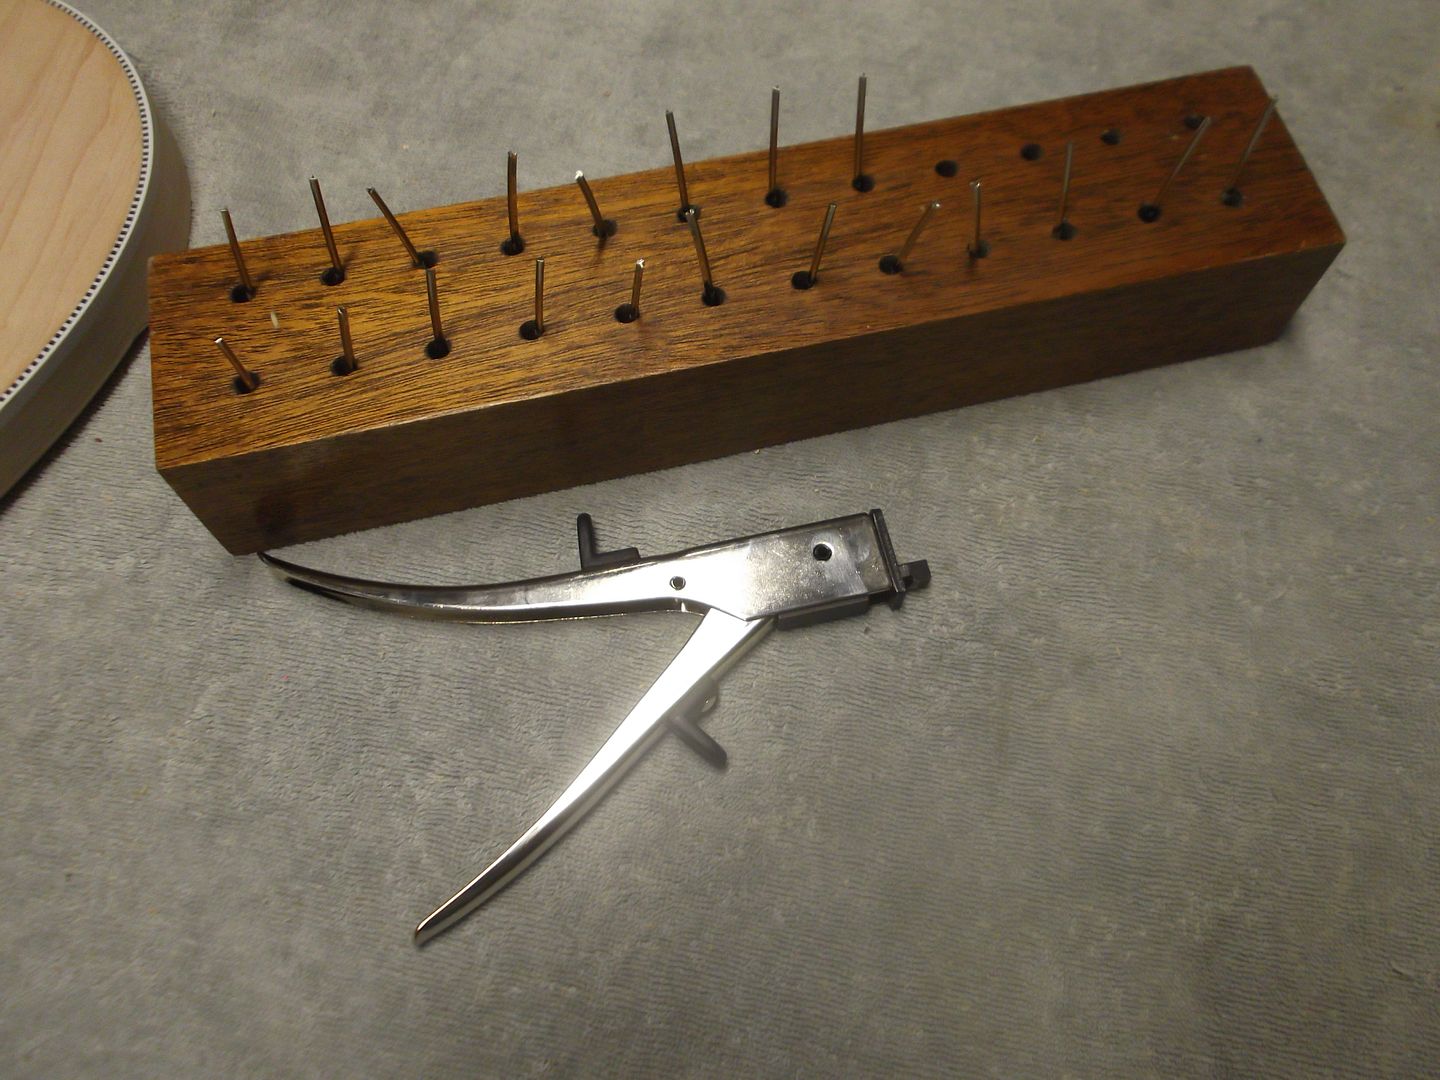
Here's the winder.

DSCF2163-1.jpg


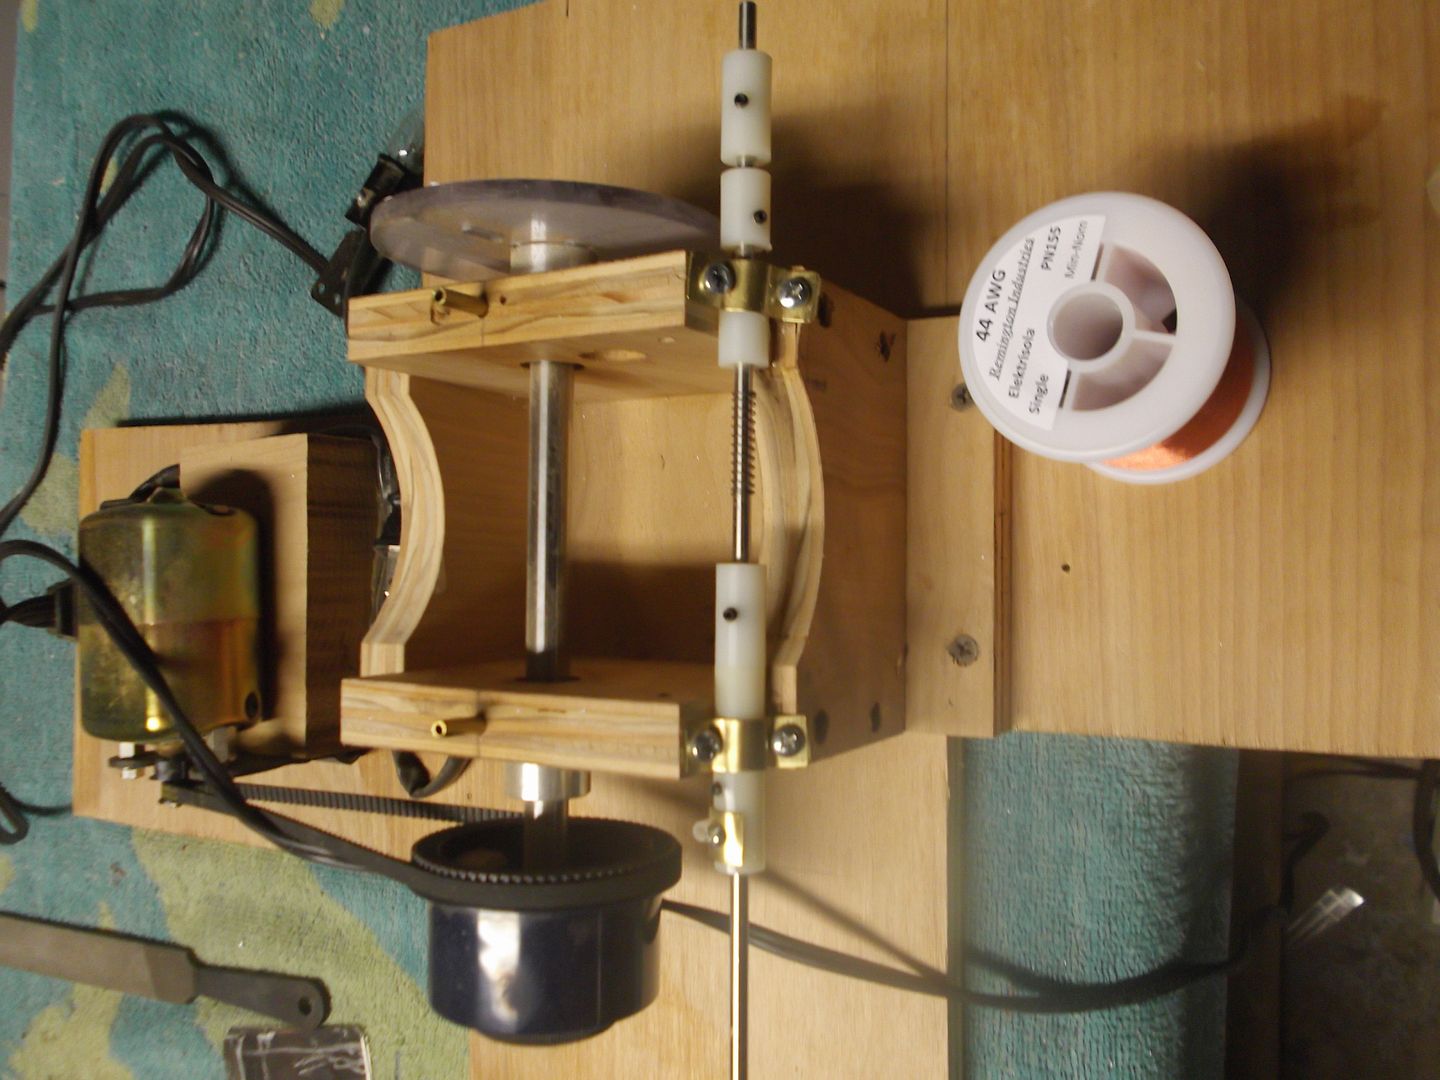
I used 44 AWG for the wire because it looks like this is what Rickenbacker used in the old days (and still does).

DSCF2162-1.jpg


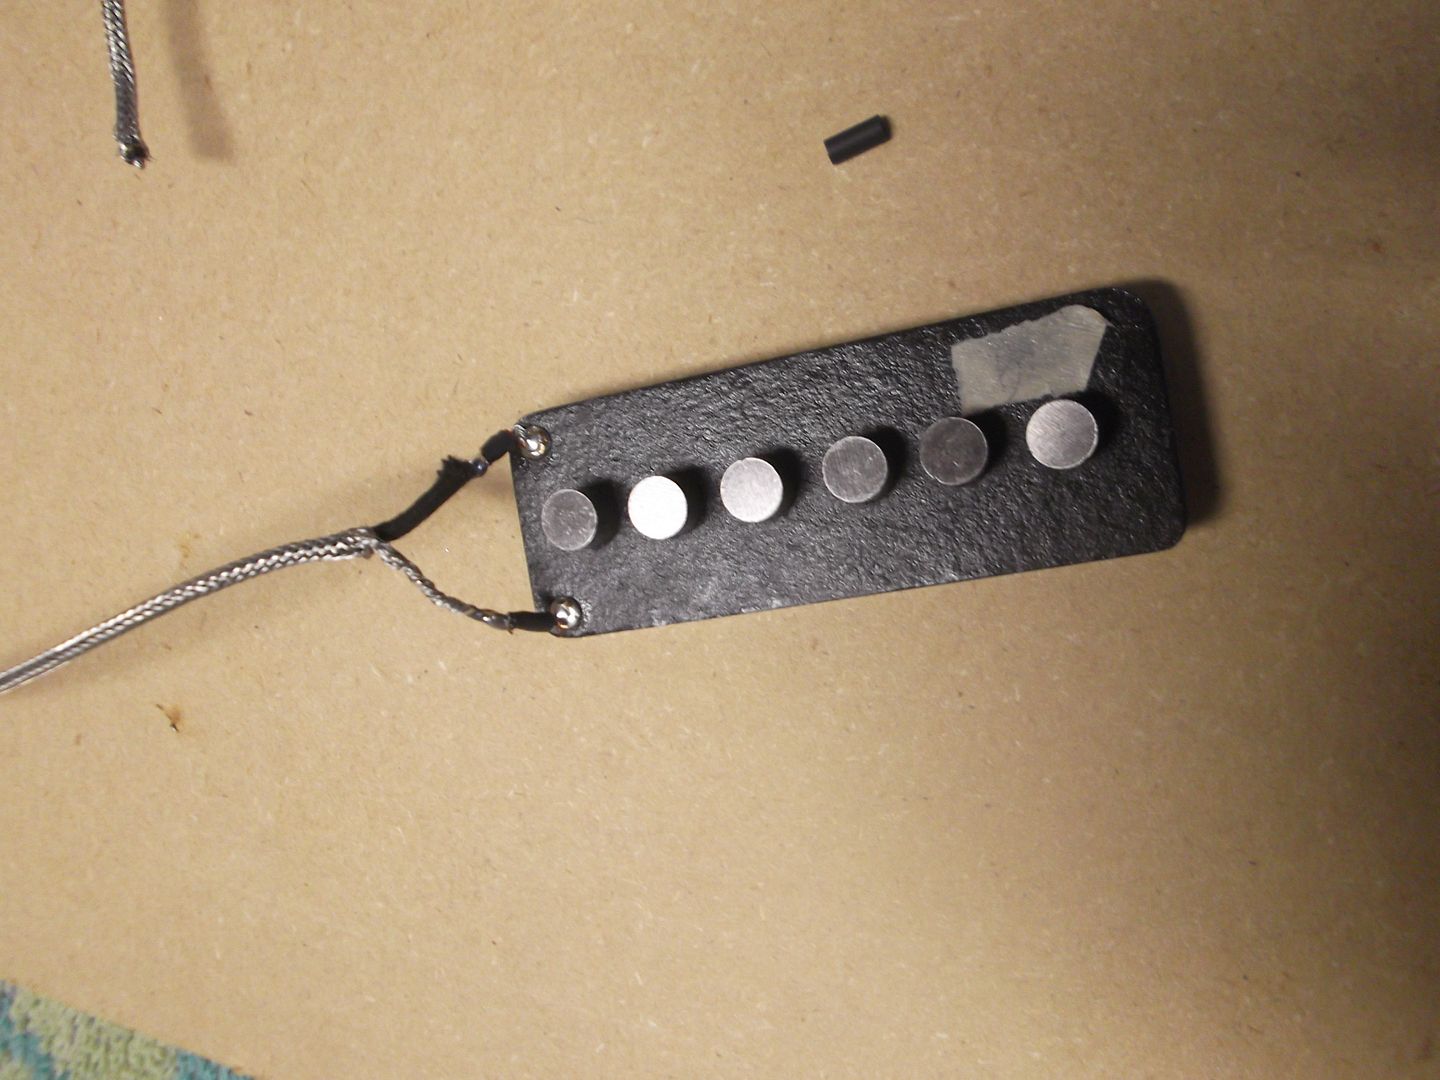
Pickups are wound. Notice the large diameter magnets--.250". From what I read Rick used anico 2 and 3 in the old days but I could only find alnico 5 in quater inch diameter. Lollar uses alnico 5 for his version of the toaster so I guess I'll be ok.

DSCF2167-1.jpg


Bobbin on and ready to wind. (Sorry so blurry).

DSC07784.jpg


Curtis Novak shows how he converted a cheap humbucker version of a toaster into something more legit. He seems to put the eyelets closer to where you would find them on a P-90 than a toaster and since I know how to make P-90s I thought I would do the same. Here's the link. (link removed)

Leads in

DSCF2168.jpg


Again Lollar uses shielded push-back wire so I thought I might as well.

DSCF2169.jpg


I wound them hotter than vintage but not as hot as the newer hi-gain toasters.

Neck:

DSCF2174.jpg


Bridge:

DSCF2177.jpg


Pickups are now wound and wired.

DSCF2181.jpg


Back to getting the guitar ready for paint tomorrow. Next time I have some downtime I'll get the pickups magnetized and in their covers.
 

Matt Haskins

Tele-Meister
Joined
Mar 1, 2011
Posts
351
Location
Claremont, CA
Are you going to pot them?

No. In the first edition (might be in the newer one too?) of Lollar's book he talked about potting but he also said you could just stop the winding a few times during the process and brush the coils with lacquer. Well I always have lacquer and it sounded easier to me. Now I'm not saying it is but it did to me at the time so I still do it that way. I've never had a problem with mirophonics so it seems to work just fine. And if I believed in such things I would love to argue it adds a little mojo. I can't imagine it does, but wouldn't it be great if it did. Anyway, it's a little different so I like to do it that way.
 

Matt Haskins

Tele-Meister
Joined
Mar 1, 2011
Posts
351
Location
Claremont, CA
Not much time today but I took a few quick pictures of the guitar glued up. (Might be able to see a little glue still there. I only did a quick scraping). Don't know if I'll have time but I hope to route the small pickup cavities tonight.

DSCF2187.jpg


DSCF2183.jpg
 

ModerneGuy

Tele-Holic
Joined
Mar 9, 2011
Posts
596
Location
Sydney, Australia
That's looking great - very inspirational. Looking forward to hearing this. I guess I'll just have to be be patient and build up my skills but ... I can't wait to build a twelve. This is one of the build threads I'll be referencing often.

BTW how are going to wire this up? Standard or possibly the McGuinn 370RM style? Personally I cant even understand the schematic let alone wire one up but it could be worth considering.
 

Matt Haskins

Tele-Meister
Joined
Mar 1, 2011
Posts
351
Location
Claremont, CA
TBTW how are going to wire this up? Standard or possibly the McGuinn 370RM style? Personally I cant even understand the schematic let alone wire one up but it could be worth considering.

I've been planning on going with the standard 660 wiring but I'm open to ideas. Honestly, I've never been one to get creative with guitar wiring. I don't use many pedals and usually just turn all knobs on my guitar to ten and go at it. Give me a guitar and a good tube amp and I'm happy. Much more than that and I start to get confused. I'd love to hear any ideas people have, however, about interesting ways to wire this guitar.

As for McGuinn's 370 I don't think I remember exactly what was involved with the "byrd" wiring. Was it a treble boost or did it have to do with the pickup selector, both, various other things?????? I'd love to know but I just don't think I can take another google search with 500 different explanations about some variation on a Rickenbacker guitar. :confused: As I've been doing research for this build I've been cutting information and pasting it into a Word file. I have over 50 pages to this point. Maybe tonight when I'm sitting around I'll do a search on the "byrd" wiring and add some more info to my file.
 

ModerneGuy

Tele-Holic
Joined
Mar 9, 2011
Posts
596
Location
Sydney, Australia
Honestly, I've never been one to get creative with guitar wiring. I don't use many pedals and usually just turn all knobs on my guitar to ten and go at it. Give me a guitar and a good tube amp and I'm happy.

Well, I'm pretty much with you there. I guess I was just throwing the alternative wiring out there seeing as you've built an amp you must have some skills/knowledge in this area. I do think that a compressor (sometimes the ones that "colour" the most) really bring out the best in a twelve string though - particularly through Fender style amps, I guess through Vox-type amps that usually have a fair bit of "squash" already it may not be such a big deal. Pfft, it'll be great whatever way you wire it. Carry on.;)
 

Matt Haskins

Tele-Meister
Joined
Mar 1, 2011
Posts
351
Location
Claremont, CA
I wanted to get some fretting done today but for the life of me I couldn't find my DIY fret tang nippers. With a bound fretboard you need to take a little of the tang off each end of the fretwire to avoid damaging the binding. You can buy one from stewmac for 50 bucks but if you do you're a sucker. Since it's been a couple years since I used mine and have no idea where the thing is I just made a new one. Making one is a snap and there's tons of info out there on how to do it but I thought I would take some pictures since I needed to make one for the build.

I went out and picked up a nibbler.

DSCF2188.jpg


To turn a nibbler into a fret tang cutter you only need to cut a groove into the nibbler to allow the tange to sit flush while being cut. A dremel with a cutting wheel is perfect for the job.

DSCF2190.jpg


A few quick hits with the cutting wheel and you have a groove. You just go slow and check you're progress until you get the groove the right depth. I was almost done when I took this picture.

DSCF2192.jpg


Now you just take some fret wire that starts like this.

DSCF2193.jpg


Put it in the new fret tang nipper.

DSCF2195.jpg


Give it a squeeze and there it is.

DSCF2197.jpg


Now I can get to that fretting tomorrow.
 

RogerC

Poster Extraordinaire
Joined
Mar 30, 2011
Posts
8,161
Location
Oklamerica
Great idea, Matt. Like nosmo, I'm going to have to start a notebook with all the ideas I'm stealing :D
 

anyone

Tele-Holic
Joined
Dec 20, 2007
Posts
889
Location
california
Very cool!
Thanks, Matt.
And the build is looking fantastic! (But that's kind of a given...)
Cheers.
 

R. Stratenstein

Doctor of Teleocity
Ad Free Member
Joined
Aug 3, 2010
Posts
15,971
Location
Loganville, Ga.
I've been planning on going with the standard 660 wiring but I'm open to ideas. Honestly, I've never been one to get creative with guitar wiring. I don't use many pedals and usually just turn all knobs on my guitar to ten and go at it. Give me a guitar and a good tube amp and I'm happy. Much more than that and I start to get confused. I'd love to hear any ideas people have, however, about interesting ways to wire this guitar.
As for McGuinn's 370 I don't think I remember exactly what was involved with the "byrd" wiring. Was it a treble boost or did it have to do with the pickup selector, both, various other things?????? I'd love to know but I just don't think I can take another google search with 500 different explanations about some variation on a Rickenbacker guitar. :confused: As I've been doing research for this build I've been cutting information and pasting it into a Word file. I have over 50 pages to this point. Maybe tonight when I'm sitting around I'll do a search on the "byrd" wiring and add some more info to my file.


Matt-kind of late to the ball, here, and you may already be well aware of this, but the "byrd" sound was actually called Ric-O-Sound, and there was a separate output jack on the guitar labeled this. At risk of information overload I Googled Ric-O-Sound. I remember seein' 'em and playing them in music stores, but I never know how the Ric-O Sound jack worked. Now I understand why I just could not get McGuinn's sound. If you're not burned out on the subject, check out this thread, splains it fairly well, maybe not enough to build a copy, but it might discourage you and steer you toward your original intentions:
http://www.thegearpage.net/board/showthread.php?t=363690
 

Matt Haskins

Tele-Meister
Joined
Mar 1, 2011
Posts
351
Location
Claremont, CA
but the "byrd" sound was actually called Ric-O-Sound, and there was a separate output jack on the guitar labeled this.

Never too late to talk about this stuff Stratenstein. From what I understand the "Byrd" wiring (as opposed to the byrd "sound") is something more specific than simply the Ric-O-Sound. Here's a link with a schematic of McGuinn's wiring I found over at the Rickenbacker forum. http://www.rickresource.com/forum/viewtopic.php?f=8&t=384616

I thought originally about wiring the guitar for Ric-O-Sound but just knew it was something I wouldn't use. Who knows, I still haven't painted the guitar so it would be easy to widen that imput hole to fit two jacks in there. Maybe something still to consider.
 

Amadhunter

Tele-Meister
Joined
Jan 30, 2009
Posts
471
Age
59
Location
Sulphur, Louisiana
Matt, you are a master. I wish I could spend some time with you as an apprentice. I build for pals, and a few customers on consignment, and your knowledge would be a boon to my hobby/side trade. I've been asked on numerous occasions if I could do some ole style toasters. I don't know how to find the parts, or do the winds. This thread alone has inspired me to work harder on the obscure stuff. Thank you. :)
 

Matt Haskins

Tele-Meister
Joined
Mar 1, 2011
Posts
351
Location
Claremont, CA
I wish I could spend some time with you as an apprentice.

Here is what you will learn at my new school of lutherie--How to build templates for guitars you will likely never build just on the off chance you might someday change your mind. Time management skills such as putting in 3 frets and then stopping to watching a couple innings of a baseball game and repeating several times. How to track saw dust from the garage into the house and incur the justifiable rage of your wife or significant other. Developing an inverse relationship between guitar building and actually guitar playing. (By the time you have earnered your new degree in lutherie with us here at the Matt Haskins School of Electric Guitar Building you will have completely forgotten how to play guitar). And of course how not to meet deadlines in guitar building competitions. :p

(Thanks for the kind words.)
 

Matt Haskins

Tele-Meister
Joined
Mar 1, 2011
Posts
351
Location
Claremont, CA
Frets are in.

The old trusty fret bender.

DSCF2198.jpg


DSCF2200.jpg


Frets are cut and ready to be nibbled.

DSCF2201.jpg


The last couple builds I've used original Titebond rather than CA. Easier to work with, less messy, and more working time are all reasons for the switch. When I'm ready to put a fret in I quickly lay down some tape.

DSCF2210.jpg

DSCF2211.jpg


Apply a little glue. Enough to help keep the fret seated but not so much that it's going to oozing out when I get the fret in.

DSCF2212.jpg


DSCF2213.jpg


Hammered in the fret with no mess.

DSCF2214.jpg


Give it a check with the Fret Rocker to make sure it's good and move on.

DSCF2215.jpg


Picture with all the metal in.

DSCF2217.jpg


The ends still need to be filed flush and rounded but the frets themselves are pretty level. Since it's a 12 string and I won't be shredding on it I might not even bother to do a final leveling and crowning. We'll see.
 

R. Stratenstein

Doctor of Teleocity
Ad Free Member
Joined
Aug 3, 2010
Posts
15,971
Location
Loganville, Ga.
Now I really see why I could never get the byrd sound. They never even mentioned the mystical "box". Anyway, as you mentioned, unless you're going for that ice pick treble, eh, how many songs would you use it on.

That neck is getting more and more "gorgeouser", and I mean that in a nice way. Beautiful work, Matt. Great idea to use the rocker as you put 'em in, too. Me, I prefer until I've got 21 jagged and uneven frets installed and glued tight before I start working on 'em.:rolleyes:
 

Matt Haskins

Tele-Meister
Joined
Mar 1, 2011
Posts
351
Location
Claremont, CA
Not a lot to report lately. I've been taking care of some finishing details before paint.

Working on the ramps for the slots on the headstock.

DSCF2233.jpg


Trying to get the transition from back of the neck to the headstock just right. Still a little more work to do.

DSCF2237.jpg


I was really hoping to have the guitar ready for paint by the end of the day tomorrow but it's just not going to happen. I'm going to obsess for a few more days. I frankly hate this part of a build. I'll think I'm done and I'll take the guitar out into the bright sunlight for one last final check and I'll find a spot or two that needs a little more attention and it just never seems to end. I'm not really sure why but I find this final prep before paint nerve wracking.
 

Matt Haskins

Tele-Meister
Joined
Mar 1, 2011
Posts
351
Location
Claremont, CA
From the beginning of this build I've intended to paint the guitar Black to match this amp I talked about at the beginning of the thread. Because so much of this guitar is already Rickenbacker inspired I don't want to go with any other traditional Rick colors (Mapleglo, Fireglo, etc).

DSC05982.jpg


Last night as I laid in my bed waiting for sleep, however, I started to have visions of how this guitar might look in Gretsch Cadillac Green.

6630_Gretsch_57_Duo-Jet_Cadillac_Green_Steven_Stern_UC11120715_11.jpg


And then the floodgates started to open--Dakota Red, Sonic Blue, Lake Placid Blue, Shoreline Gold.... The mind raced--I couldn't stop it. Somehow Capri Orange even entered into my thought. I mean really, Capri Orange!

Anyone care to give me another sleepless night and share their thoughts on paint for this guitar?
 
Last edited:

PHawley

Tele-Meister
Joined
Aug 2, 2011
Posts
243
Location
Naperville, IL
As much as I love the color, I don't see this guitar as a Cadillac Green candidate. However, any light-colored top with a natural back would look awesome. Perhaps the shade of blue-green that this Telecaster is?

Fender_Custom_Shop_Custom_Classic_Tele_C_Surf_Green_CZ512064_1.jpg
 
Top