OK a couple more comments and a couple more thoughts.
Some woods like ash, mahogany have open pores. Lacquer shrinks back and does not fill the pores so you don't get a nice smooth glossy surface, Alder, maple, spruce have closed pores, lacquer will lay smoothly on them. So you have two different situations with your body woods, to get a smooth finish on the ash you should fill the pores (some people call it 'grain filling" but to me that is something else.
Everyone has a favorite pore filling material and there are reasons to use different ones., Mine is a finishing resin called Zpoxy and we can discuss how I use it separately. Zpoxy has a second function which we will address in a moment,
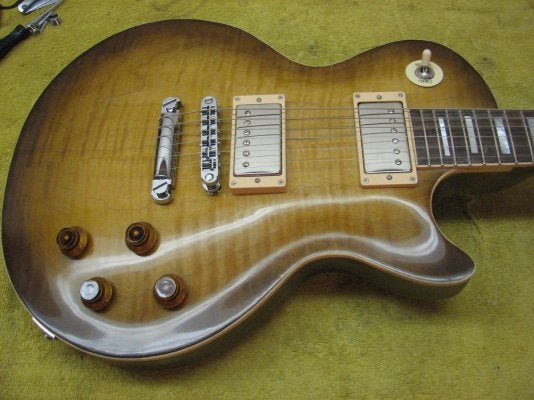
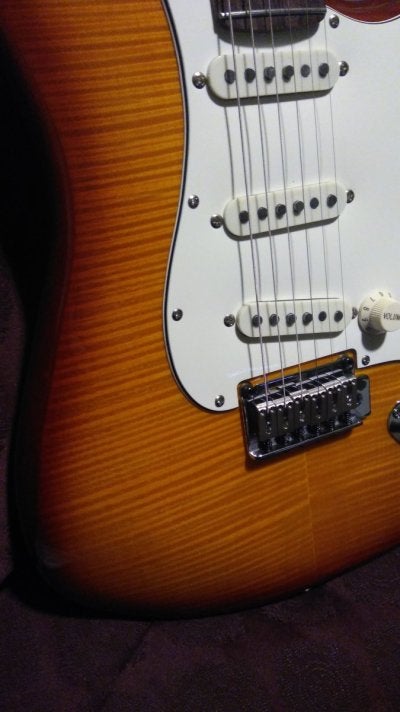
The tele in your first link is alder so it doesn't have that problem. The top in the SM link is quilted maple, not only does it not require pore filling it is a different wood than yours so it may react differently,
Next, I think it is a good idea to think about the entire finishing process - what are you going to do with the back and side? Brown to match the outside of the burst, maybe burst the back to match the top, maybe a contrasting color. If you plan to do any staining the end grain on the sides will absorb more stain than flat grain, that is not so much of a problem if you are shooting tinted lacquer,
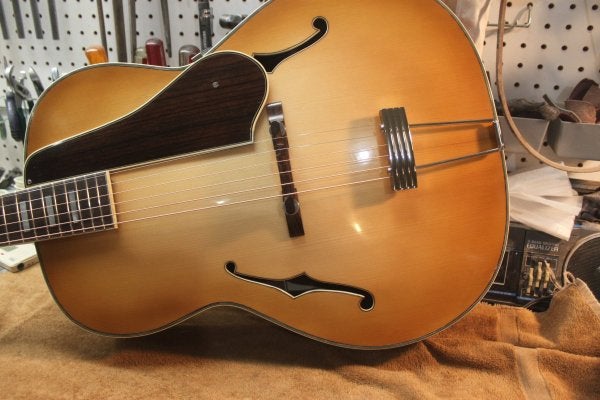
I make it a point before starting any finishing (usually when I first start building the guitar) to wipe the woods with naphtha (white gas) or DNA. That will show you the color the wood would be if you just shot clear lacquer. You'll see how grain and figure reacts to just a clear wetting finish like lacquer. With many woods you'll decide that the real color only needs a bit of help, that is what happened with the telecaster in the second picture. Neither ash or alder are noted as being highly figured, but doing the naphtha test will show you what you've got.
I shoot all my fades and sunbursts with the guitar laying flat on its back on a low table maybe 2-3 feet off the floor. I set it on little blocks of wood so the sides don't touch anything. I can walk completely around the guitar, I can either shoot the top close to me or on the opposite side, I can shoot the sides at 90 degrees and get in the cutaway horns (and if the neck is on I can deal with it also). I have never mastered shooting a guitar hanging from the neck or tail end, I'm not able to hold it by a stick screwed into the neck pocket and have any control over my gun.
As I mentioned before, get some of the little nozzles that SM sells, after a session take off the can and throw it in some lacquer thinner. Their pattern can be adjusted vertically or horizontal and is much better than a standard rattle can. I also recommend warming the cans in warm water before your session.
Keep your sanding to a minimum. I sand to 320 before starting, scraping is also good. I'll work on the burst with a few very light coats of the amber, just scuff sand between coats or as necessary - you are trying to build film thickness but at the same time keeping the finish translucent so you can see the grain. You also need to lay down enough lacquer that it will flow but not run or sag, at the same time sort of mist the finish to make the transition smooth. Bursts are not easy and while you can use rattle cans they are less than ideal.
When you are happy with the colors and the transitions shoot six to ten coats of clear, lightly sand to 320 every two or three coats. When you are happy with that wet sand from 800 or 1000 to 2000 and buff.
I do have pictures of each of those finishes going on and would be happy to post them, but you are going to learn far more buying some cans of finish and shooting it as some hunks of your wood
I forgot to attach this, it is the StewMac finishing schedule and its basically what I learned and what I follow
A step-by-step flow chart of nitrocellulose finishing.
www.stewmac.com