Allthesound
Tele-Afflicted
Good luck man! Nice wood


")
please go nuts with inlay process pix


Should i dig out the middle before i cut out the body? Thinking it might be easier.


Thanks john and dave
I think your right about simple is better. I guess simple will still give me a taste of inlaying.
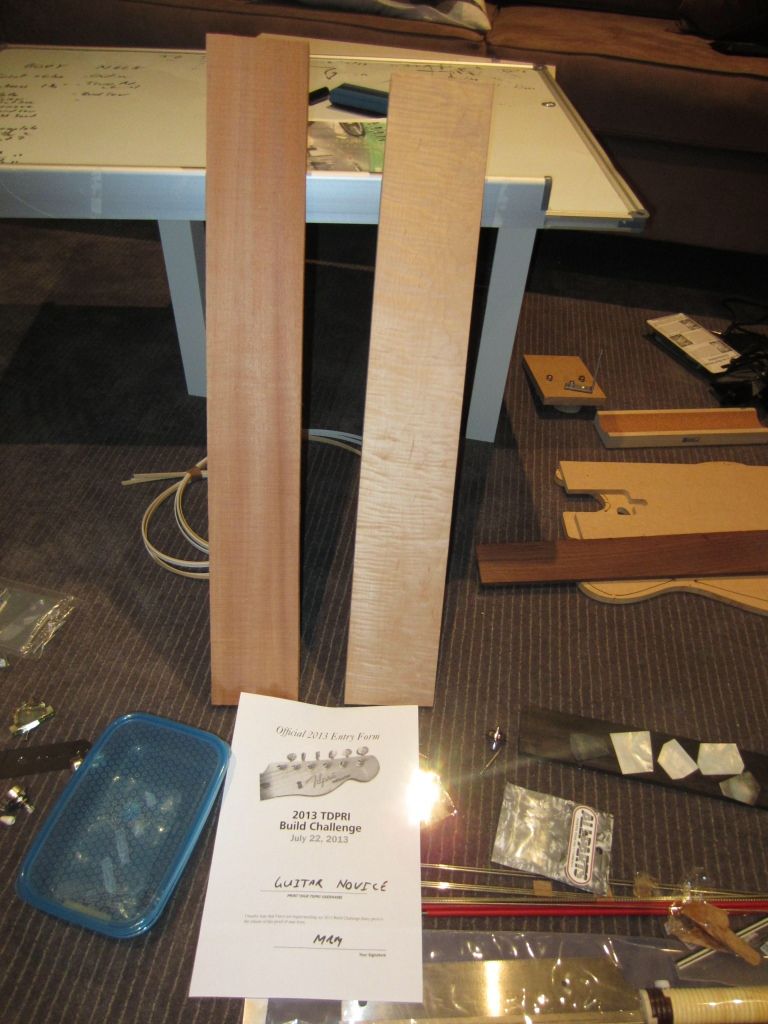
Got lots done after work. Took heaps of photos with a camera that did not have memory card in.
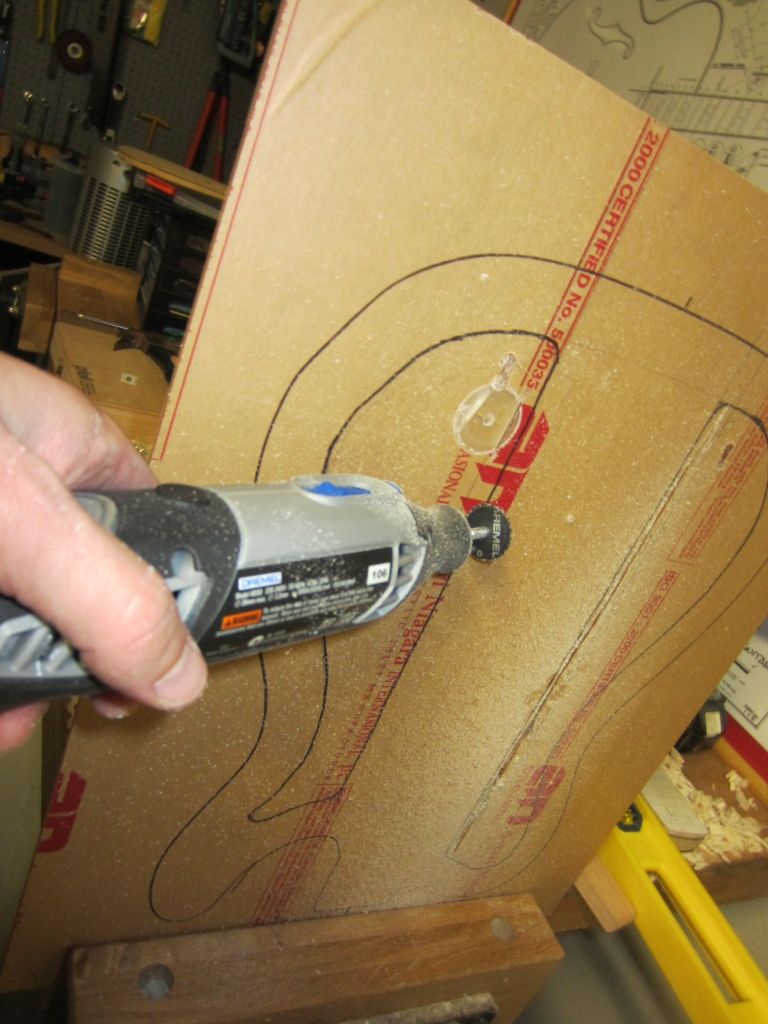
First step was to make a template for the internal contours. Got some plexi so time to give it a crack. I hand drew a 1 inch contour following outline of the tele.
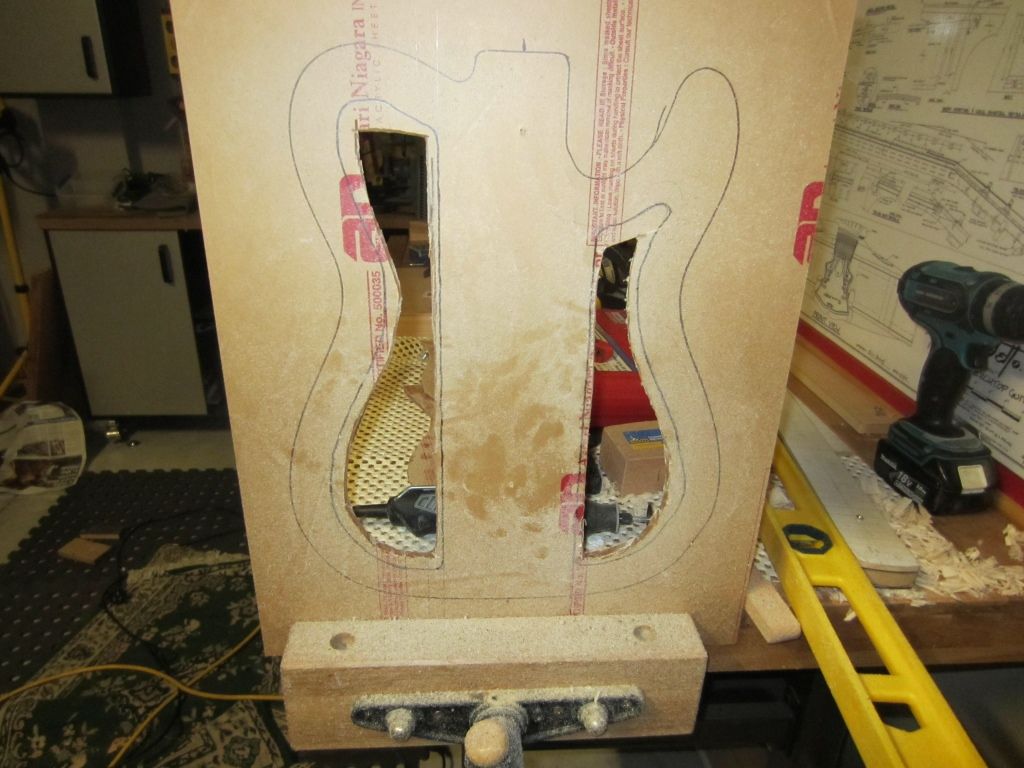
Next measured 5 inches wide and 4 inches wide in the middle. 2 photos show the spacing of each. I think the 4 inch looks better.